The Booking Calendar block puts your Calendly or Cal.com scheduler right on your page. Visitors pick a day and a time and book in place, instead of being sent off to another site. Use it for discovery calls, consultations, lessons, classes, appointments, or anything else people book with you.
You need a Calendly or Cal.com account with a booking page set up. The block shows that booking page, so your availability, event types, and confirmation emails are still managed in Calendly or Cal.com.
How to add a Booking Calendar block
- Click Edit page in the sidebar, then click Add block above your blocks.
- In the Add block picker, find Booking calendar under the Connect with visitors filter.
- The editor opens on the side, with a live preview of the block next to it.
You can also type into the search box at the top of the picker. The block answers to "calendar", "booking", "appointment", "schedule", "meeting", "consultation", "Calendly", and "Cal.com".
Search by name rather than pasting your booking link into the search box: a pasted link becomes a regular URL button, not a calendar.
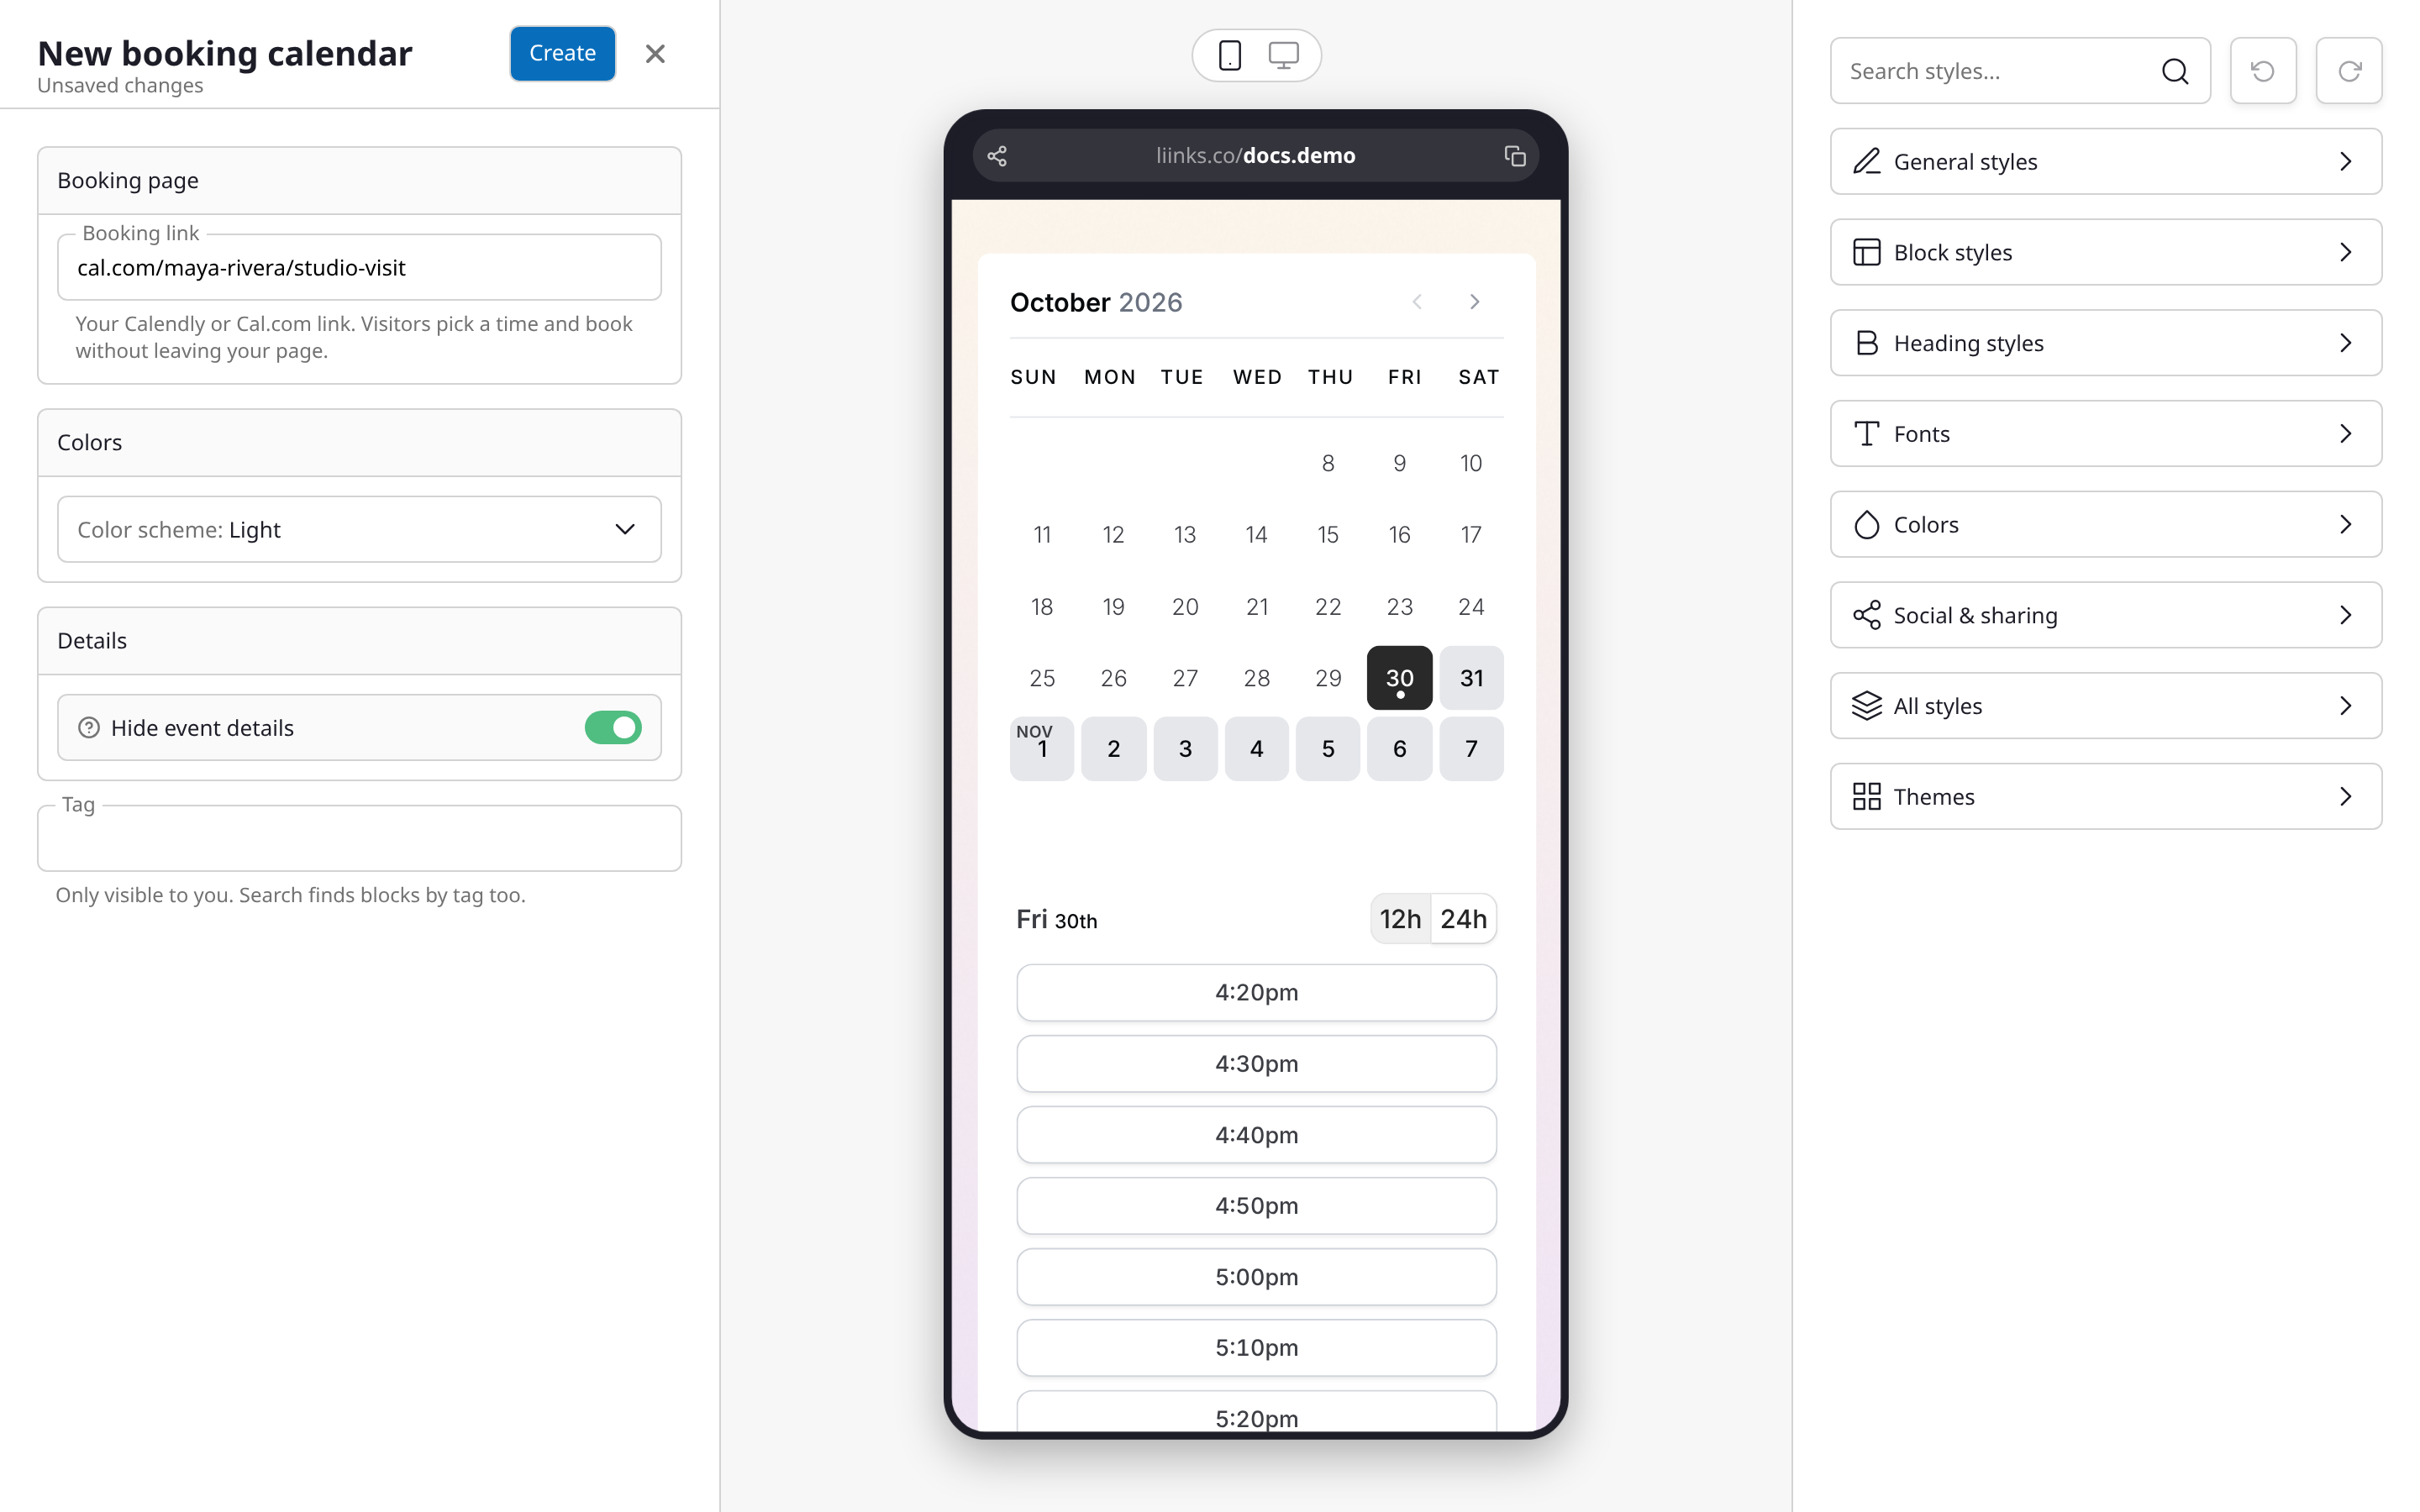
The booking link
Under Booking page, paste your link into the Booking link field. Copy it from Calendly or Cal.com, for example calendly.com/your-name or cal.com/your-name/30min. You can leave out the https://.
- A link to your main booking page (such as
calendly.com/your-name) lists every event type you offer, and visitors choose one first. - A link to a single event (such as
calendly.com/your-name/30min) opens straight on that event's calendar.
The link has to be on calendly.com or cal.com (app.cal.com links work too), and it has to point to a booking page rather than the site's homepage. If it doesn't, the field asks you to paste the link to your Calendly or Cal.com booking page. Until there's a link the block can use, the preview shows a placeholder in place of the calendar.
Colors
The Color scheme setting under Colors has three options:
- Light: the scheduler's own light look. This is the default.
- Dark: a dark calendar, for pages with a dark background.
- Custom: your own Background color, Text color, and Highlight color. The highlight color marks the available dates, the selected time, and the buttons. Each color picker shows your page's own colors as swatches, so matching your theme is one click.
On Calendly, Dark and Custom need a paid Calendly plan. Calendly only applies these colors on its paid plans. On a free Calendly plan, your calendar keeps Calendly's default look whichever scheme you pick here. The editor shows this reminder under Color scheme whenever your link is a Calendly link.
Hiding the event details
Turn on Hide event details (under Details) to hide the panel with your event's name, length, and description, and show only the calendar. It's a good fit when the text around the block already says what the booking is for, and it saves space on a phone.
On a Calendly link to your main booking page, it also hides the profile details at the top of your list of events.
The tag
Tag is a private label for the block. Only you see it, and the search in your editor finds blocks by tag too. The block has no title of its own, so without a tag it's listed in your blocks under its booking link (for example, "calendly.com/your-name").
How it looks for visitors
The calendar sits on your page at the full width of your blocks, with the same rounded corners. It grows to fit the scheduler as visitors move through it, so they scroll your page rather than a small box inside it. Visitors choose a time and fill in the booking form without leaving your page, and Calendly or Cal.com sends them the usual confirmation.
Cal.com calendars always open in the month view, which fits the width of a page.
Bookings in your analytics
Every confirmed booking counts as one click on the block, so the block's clicks in your analytics are the bookings that came through your page. Browsing the calendar, or picking a time without finishing the booking, doesn't count. See How do I see how my page is performing? for where to find your clicks.
Tips
- The preview in the editor is your real calendar. A slot you book there while testing is a real booking, so cancel it in Calendly or Cal.com afterwards. Bookings made in the preview aren't counted in your analytics.
- Put a Heading or a Text block above the calendar that says what the call is and how long it takes, then turn on Hide event details for a cleaner look.
- One calendar per page is usually enough. If you offer several kinds of appointment, use the link to your main booking page and let visitors choose.
- On a dark page, choose Dark or Custom so a bright white calendar doesn't break up your design. On Calendly, remember that needs a paid Calendly plan.
- Use a different scheduling tool, or a booking page on your own domain? Add it as a Link block instead. The Booking calendar block works with calendly.com and cal.com links only.