The Heading block breaks your page into logical groups: for example "Listen", "Shop", and "Events". It can be a section label, a plain line between blocks, or blank space, and it uses your page's fonts and colors so it matches your design.
This block used to be called Divider. It is the same block, with the line and the spacing now available as options on it.
How to add a Heading block
- In your admin, open the page editor and click Add Block.
- Choose Heading (you'll find it in the Content section, and searching for "divider" or "separator" also finds it).
- Set the Title: the text that appears on your page.
- Click Create.
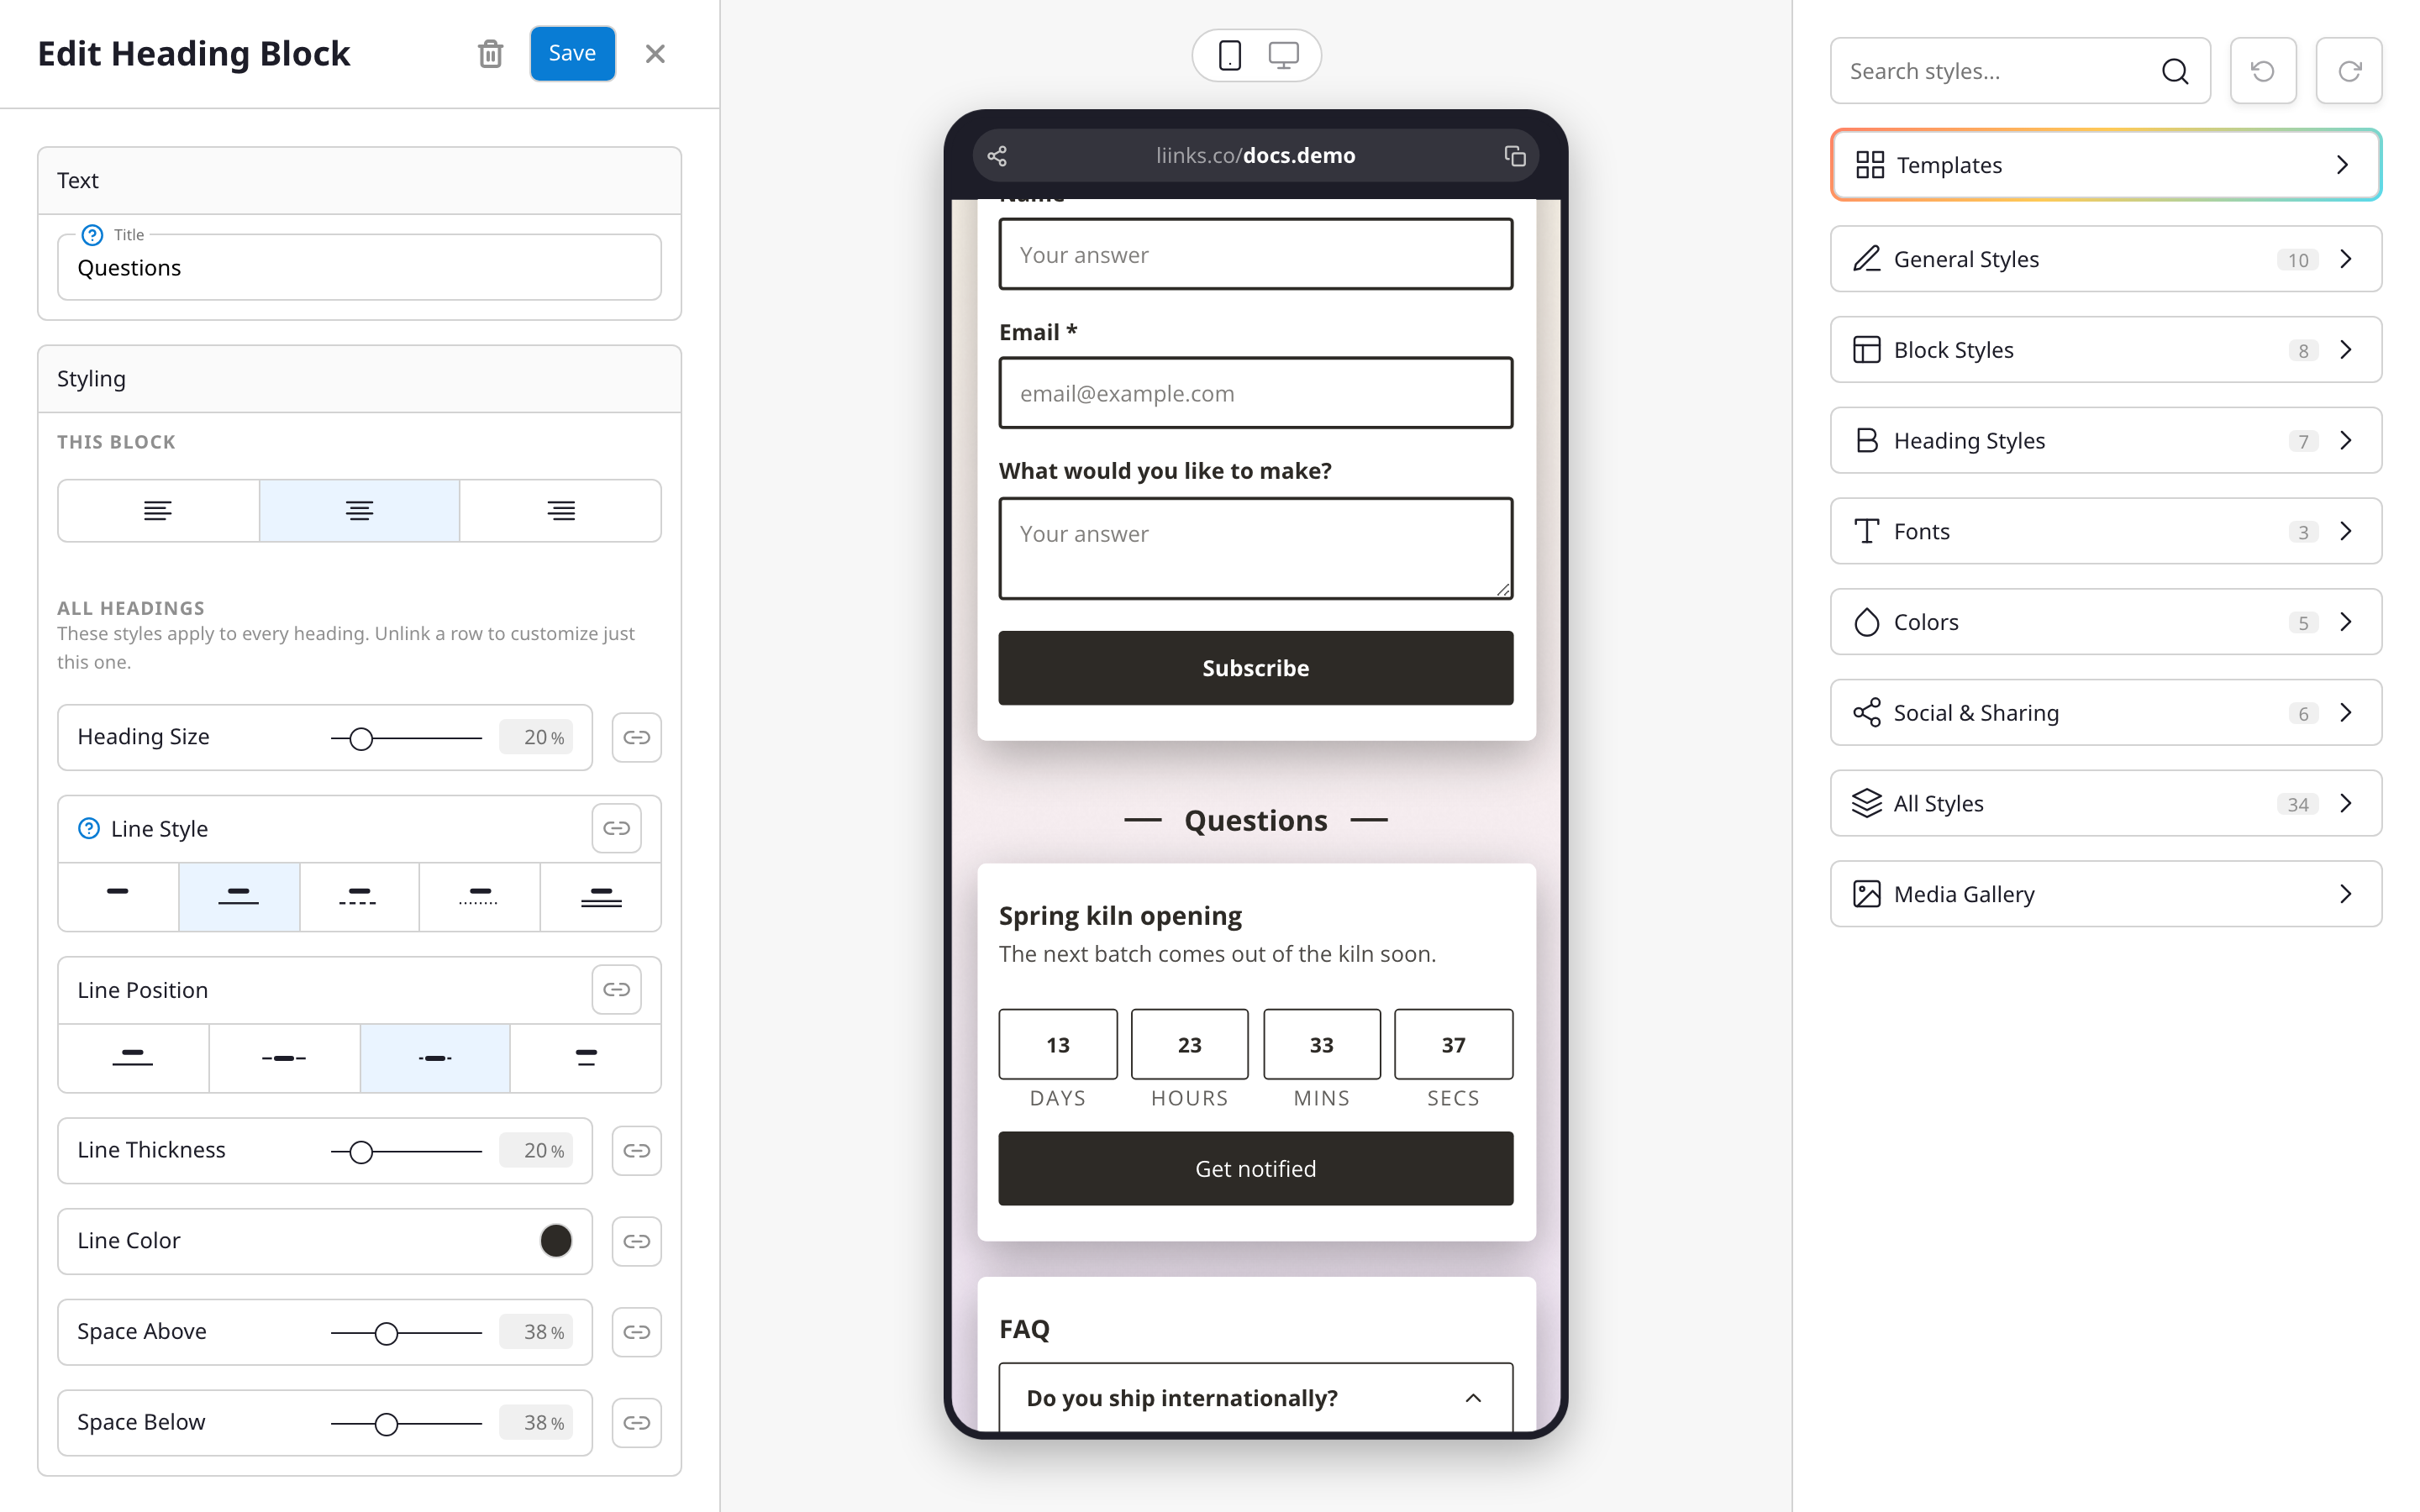
Three ways to use it
The Title and the line style work together, so one block covers three jobs:
- Section heading: a title, with or without a line.
- Separator: leave the Title empty and set a line style. The block renders as a bare line.
- Spacer: leave the Title empty and set the line style to None. The block renders as blank space, which is useful for pushing two groups apart.
Styling every heading at once
Heading styling is shared across the page, so your section labels stay consistent. Open Design in your admin and find the Heading Styles section. It appears once your page has at least one heading block.
- Heading Size: the size of the heading text.
- Line Style: None, Solid, Dashed, Dotted, or Double.
- Line Position: where the line sits relative to the text (see below).
- Line Thickness: how heavy the line is. Double lines have a minimum thickness so both strokes stay visible.
- Line Color: leave it unset to inherit your page's text color, or pick a color of its own.
- Space Above and Space Below: how much room the heading leaves around itself.
Line Position, Line Thickness, and Line Color appear once you pick a line style other than None.
Line positions
- Full Width: the line runs edge to edge underneath the heading.
- Around Text: the line fills the space on both sides of the heading.
- Short Lines: a short line on each side of the heading, for the classic look of a title with a small stroke either side. The lines scale with the Heading Size, so they stay in proportion.
- Text Width: the line is only as wide as the heading text, like an underline.
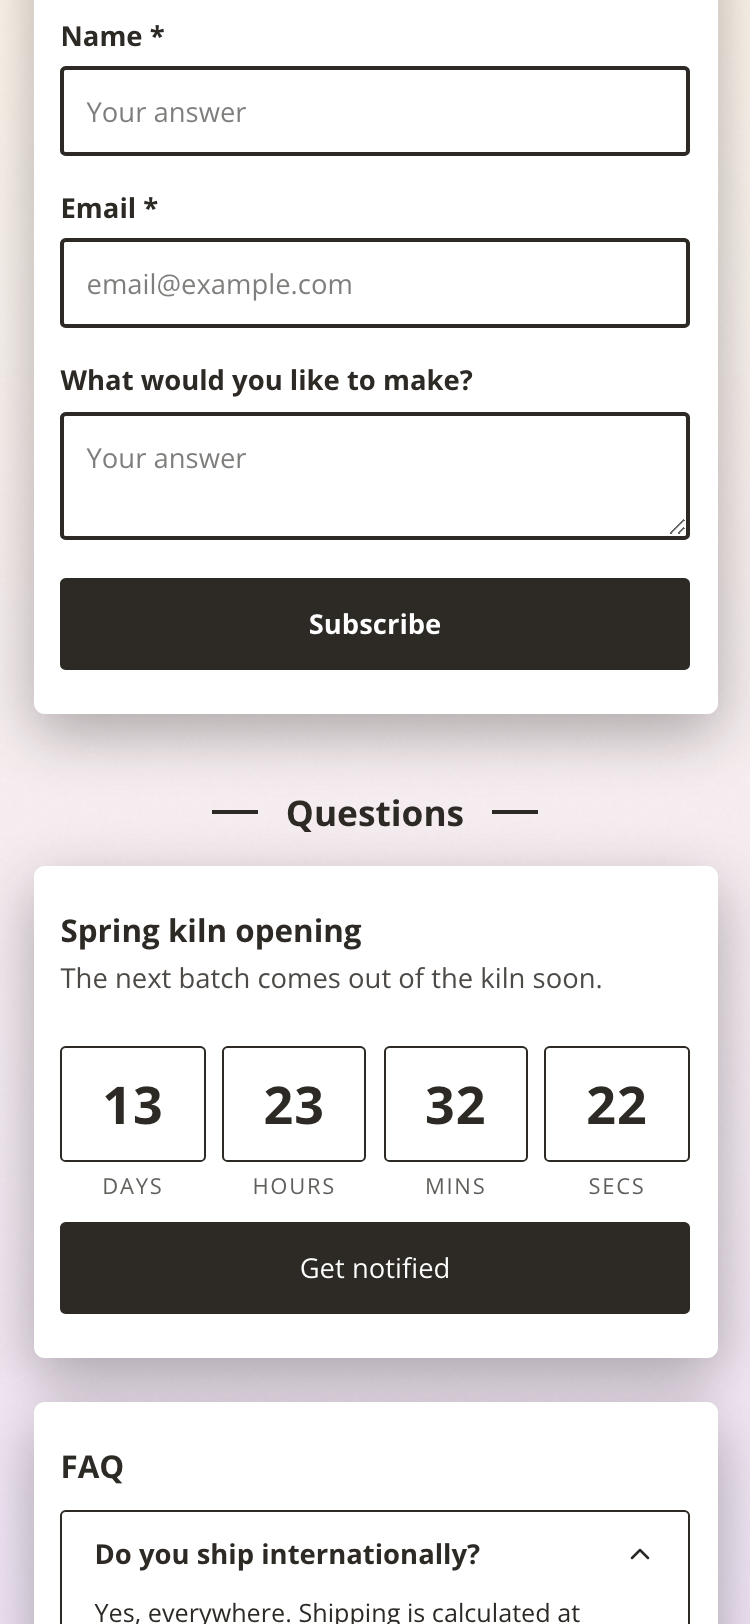
A block with no title always renders as a single full-width line, whichever position you choose, because the other positions need text to arrange themselves around.
Styling one heading on its own
Every heading on your page shares the styles above, but you can break one out:
- Click the heading block to open its editor.
- Under Styling, the All headings rows are linked to your page styles. Editing one there changes every heading.
- To change only this block, unlink the row you want and set its value. The rest stay linked.
Alignment is always per block. In the same Styling pane, the This block row aligns the heading left, center, or right. With Around Text or Short Lines, the line moves with the text.
Use Reset at the top of the Styling pane to drop this block's overrides and go back to your page's heading styles.
Tips
- Keep headings short and scannable; one or two words is usually enough.
- Pick one line style and stick with it down the page. Mixing styles reads as inconsistency rather than emphasis.
- If you want visitors to be able to expand and collapse a group instead of just labeling it, use a Folder block.
- For longer written content, use a Text block instead.