How to Blur Faces and Private Info in a Photo With the Free Liinks Image Blur Tool
You take the photo, you like the photo, you post the photo. Two hundred people see it in the first ten minutes. One of them notices the house number on the door frame behind you.
This is the part of posting online that nobody warns you about. You are not careless. You are just looking at the subject of the photo, because that is what you framed it for, and the subject is the one thing in the frame you are not worried about. The risk lives in the background: the parcel with a shipping label, the laptop screen with a client's name on it, the school badge on a kid's jumper, the reflection in the window behind the desk.
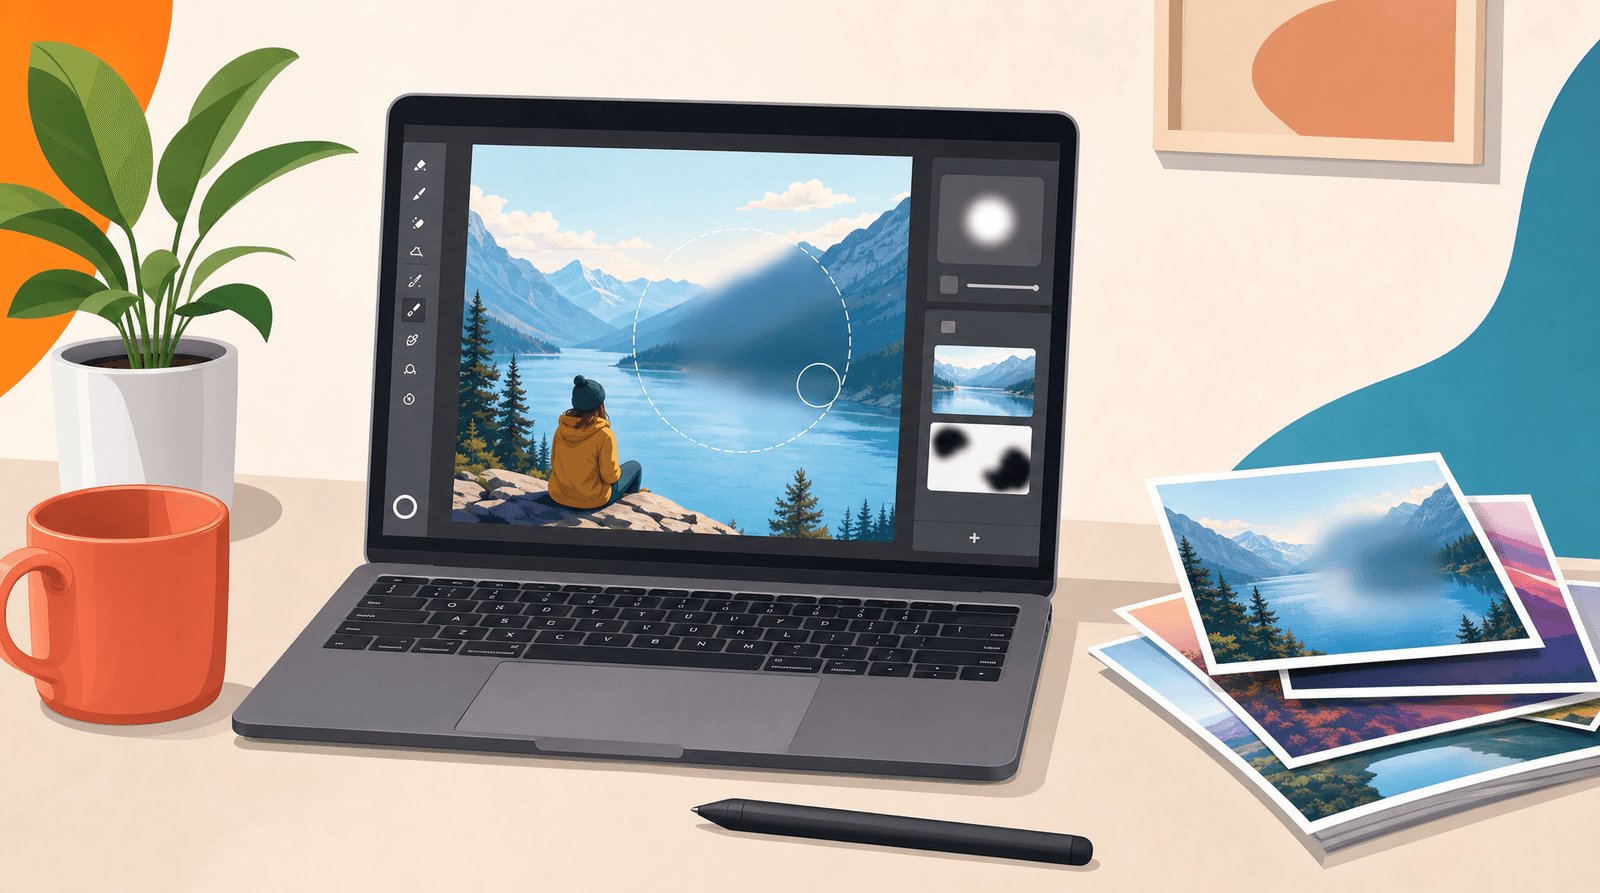
The fix is a thirty second job, and until recently it required either a desktop photo editor you pay for or an online tool that quietly uploads your photo to a stranger's server first. The free Liinks Image Blur Tool is neither. Open the page, drop in an image, brush over what you want hidden, download the result. The image never leaves your browser, because there is no server for it to go to.
What actually leaks in a creator's camera roll
Before the walkthrough, it is worth knowing what to look for, because the point of a redaction tool is wasted if you do not spot the thing that needs redacting. These are the ones that come up again and again:
- Addresses and house numbers. Door plaques, wheelie bins with a number painted on them, the street sign at the end of a hallway shot, a letter on the kitchen counter.
- Shipping and delivery labels. The single most common leak for anyone who does unboxings, PR haul videos, or product photos. A label carries your full name and address in print large enough to read on a phone.
- Other people's faces. Friends, clients, staff, and above all children who did not agree to be in your content. Consent is not implied by standing near you.
- Screens. Analytics dashboards, client emails, DMs, invoices, a calendar with names on it. Screenshots of your own numbers are fine. Screenshots with someone else's data in the sidebar are not.
- Documents and paperwork. Contracts, invoices, bank letters, ID cards used as a prop in a "getting my business registered" post.
- Number plates. Car content, travel content, and any photo taken in a driveway.
- Location tells. A gym membership card, a name badge, a delivery van livery, a local newspaper on the table.
You do not need paranoia. You need a habit: before a photo goes out, scan the edges of the frame, not the middle.
Meet the Liinks Image Blur Tool
The Image Blur Tool is one of the free tools Liinks builds for creators and small businesses. It is a single page with two panels: your controls on the left, your image on the right.
Four things worth knowing before you start:
- Your image never leaves your browser. The whole thing runs on a canvas on the page. There is no upload step, no processing queue, and no copy of your photo sitting in someone's storage bucket waiting to be deleted. This is a meaningful difference from most free blur tools, which are server-side and ask you to trust a privacy policy.
- The download is full resolution. Your brush strokes are recorded in the coordinates of the original image, not of the small preview on screen, and they are re-applied at full size when you export. A blur you painted on a 900 pixel preview lands in exactly the same place on the 4000 pixel original.
- It accepts PNG, JPG, and WebP, and exports as PNG or JPG. PNG for anything with text or graphics, JPG when you want a smaller file for a photo.
- There is no sign-up. No account, no watermark, no export limit.
Blur or pixelate? Pick the right one
The tool gives you two effects, and the choice matters more than people expect.
Blur softens an area into a smooth smear. It looks better. It suits faces, backgrounds, and anything where you want the redaction to feel like a stylistic choice rather than a black box. On a photo it is almost invisible as an edit.
Pixelate replaces the area with chunky squares. It looks more deliberate, and it is the safer choice for text. Here is why: blurring is an averaging operation, and a light blur over printed text keeps a surprising amount of the original letter shapes intact in the gradients. Zoom in, adjust the contrast, and short strings like a house number or a postcode can sometimes be guessed. Chunky pixelation at a high block size destroys the letterforms outright.
The tool says this on the page, right under the effect buttons: pixelate is the safer choice for hiding text like names and addresses. Take the hint.
Then there is Strength, a slider from 1 to 100 percent. This is where most redactions fail. A 20 percent blur looks blurred at a glance and is trivially reversible in practice, because so much of the original signal is still there. If you are hiding something you genuinely do not want read, push the strength high enough that you cannot tell what was underneath, then go higher. There is no prize for a subtle redaction.
One useful quirk: strength applies to every painted area at once, including strokes you painted earlier. Change the slider and the whole redaction updates. So you can brush everything first and dial in the intensity at the end, rather than deciding up front.
The walkthrough, step by step
1. Upload your image
Drag a file onto the dropzone on the left, or click it to open a file picker. PNG, JPG, and WebP all work. The panel then shows the filename and the pixel dimensions, so you can confirm you grabbed the full-size original rather than a compressed copy off your phone's share sheet.
2. Choose your effect before you brush
Pick Blur or Pixelate at the top of the controls. You can change it later and the whole image updates, but it is easier to judge coverage when you are looking at the effect you will actually ship.
3. Set the brush size
The Brush size slider runs from 8 to 120 pixels. Two brushes get most jobs done: a large one for faces and big background regions, and a small one for text on a label. Do not fight a huge brush around the edge of a sign. Drop the size and take two passes.
4. Brush over what you want hidden
Click and drag across the image. The effect appears live under your cursor. Work outward from the thing you are hiding and give yourself a margin, because a redaction that clips the edge of a house number is worse than no redaction at all: it advertises that there was something there and leaves half of it legible.
5. Fix mistakes with Eraser and Undo
Switch the Tool control to Eraser and paint over a blurred area to bring the original back. Use it when you have covered something you wanted visible, like part of a subject's shoulder or a product you are actually promoting.
For a stroke you regret entirely, Undo removes the last one, and the keyboard shortcut works too: Cmd+Z on a Mac, Ctrl+Z on Windows. Clear all wipes every stroke and gives you the original image back, which is the fastest way to start over after you have changed the effect halfway through.
6. Check at full size, then download
Before you export, look at the preview properly. The classic failure is judging a redaction on a small canvas: what reads as "completely hidden" at preview size can be perfectly legible at full resolution, where every pixel of the original is preserved outside your strokes.
Then hit PNG or JPG. The file downloads straight from your browser at the original dimensions, with the effect baked in.
Where this fits in your content workflow
A redaction step is one of those things that feels like admin until the week you need it. Bolt it onto the workflow you already have.
Product and unboxing photos. If you shoot PR packages, the label goes in the frame more often than you think. Blur it once as part of your editing pass rather than checking each shot individually.
Screenshots of your own numbers. Sharing a good month is great marketing. Sharing it with a client's name visible in the sidebar of your dashboard is not. This comes up constantly when creators build a media kit: the screenshots that prove your reach are exactly the screenshots most likely to carry someone else's data in the margins.
Testimonials and DMs. A screenshot of a happy customer message is one of the highest converting things you can put on a page. Blur the handle and the profile picture unless you have asked them, and blur the other conversations visible in the sidebar either way.
Photos with other people in them. Blur first, ask later. It costs you nothing and it is a good look.
Once the images are clean, they need somewhere to live. The Social Media Image Resizer is a natural next step in the same session: redact once, then export the same image at the right dimensions for every platform instead of recropping it four times. Both tools sit alongside the rest of the free set at liinks.co, and neither one asks you to make an account.
And when the photo does its job and someone goes looking for you, the place they land matters. A single link in bio pointing at a Liinks page puts your shop, your booking form, and your latest work in one spot, with analytics that tell you which of them people actually tapped. That is the same argument made in Every New Follower Visits Your Profile Once: attention arrives in a narrow window, and the page has to be ready before it does.
Four mistakes that make a redaction useless
1. Blurring at low strength. A gentle blur is a visual effect, not a redaction. If it needs to be hidden, take the strength high and confirm you cannot read it yourself.
2. Blurring instead of pixelating text. Averaging preserves more of a letterform than you would guess. Chunky pixelation is the safer tool for anything printed.
3. Redacting the crop, not the original. If you blur a small preview elsewhere and then post the full-size file, you have posted the original. This tool avoids the problem by exporting at full resolution with the strokes reapplied, but the general rule stands: redact the file you are going to upload.
4. Posting the original by accident. After you download, the redacted copy and the original are both sitting in your downloads folder with near-identical names. Rename the clean one immediately, or delete the original if you do not need it. More posts have leaked this way than through any clever un-blurring.
TL;DR
- The free Liinks Image Blur Tool blurs or pixelates any part of a photo with a brush. No account, no watermark, no upload.
- Everything runs on your device, on a canvas in the page. Your image is never sent anywhere.
- Pixelate for text, blur for faces and backgrounds.
- Push the strength up. Low-strength blur is decorative, not protective.
- Brush size runs from 8 to 120 pixels. Big brush for faces, small brush for labels.
- Eraser restores the original underneath, Undo removes your last stroke, Cmd or Ctrl+Z works, and Clear all resets everything.
- Downloads come out at the original resolution as PNG or JPG, with your strokes reapplied at full size.
- Scan the edges of the frame before you post: addresses, labels, screens, plates, other people's faces.
Try it
Open the Image Blur Tool, drop in the last photo you were slightly unsure about, and see how long the fix actually takes. It is free and it runs entirely in your browser.
Then give your clean images somewhere to go. A Liinks page brings your links, photos, shop, and content together on one page that takes a few minutes to build and no code at all. Start yours at liinks.co.